What is a Free Lifetime SSL?
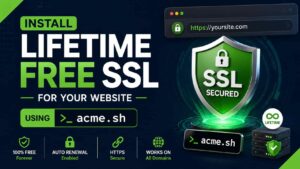
In today’s digital landscape, securing your website is absolutely essential. Therefore, obtaining a Lifetime Free SSL certificate is a smart move for any website owner. Consequently, you can protect user data, improve your search engine rankings, and build trust with your visitors. Moreover, using a tool like the acme.sh script makes this process straightforward, even if you are using a cPanel hosting environment.
Key Benefits of a Free Lifetime SSL
Firstly, a major advantage is the zero cost involved. Specifically, you never have to pay for expensive certificates again. Secondly, this method supports both www and non-www domains seamlessly. Furthermore, the acme.sh script provides automatic renewals every 60 days. Thus, you will never have to worry about an expired certificate causing downtime. In addition, no heavy WordPress plugins are required, which keeps your site fast. Most importantly, it generates secure ECC certificates for optimal encryption.
Requirements for Your Free Lifetime SSL Setup
Before we begin the installation, there are a few prerequisites. Your domain or subdomain must be properly pointed to your server. Also, ensure you have the correct document root path. Additionally, Port 80 must be enabled for the validation process. Once you have these ready, you can proceed smoothly.
Step-by-Step Server Configuration
The installation process involves just a few simple steps.
- Install the acme.sh Client: To start, you must install the
acme.shclient via curl on your server console. - Set the Default CA: Subsequently, configure Let’s Encrypt as your default Certificate Authority.
- Issue the Certificate: After that, issue the SSL certificate utilizing the HTTP-01 challenge.
- Deploy to cPanel: Next, deploy the new certificate to your cPanel using the
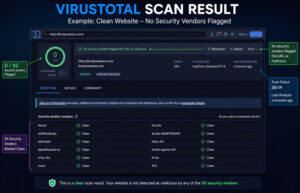
cpanel_uapihook. This automates the integration effortlessly. - Final Verification: Finally, verify your successful installation by visiting your website via a browser or testing standard online SSL checkers.
To learn more about the utility script itself, check out the official acme.sh GitHub repository. For other helpful WordPress and server tips, please check out our other posts on the blog.
Step 1: Install acme.sh (One-Time Setup)
curl https://get.acme.sh | sh
Step 2: Set Let’s Encrypt as the Default Certificate Authority
~/.acme.sh/acme.sh --set-default-ca --server letsencrypt
Step 3: Register Your Account Email
					~/.acme.sh/acme.sh --register-account \
--accountemail example@gmail.com
Step 4: Issue SSL for Both www and non-www Domains
Example:
Domain:
example.comDocument Root:
/home/username/public_html/example.com
					~/.acme.sh/acme.sh --issue \
-d example.com \
-d www.example.com \
-w /home/username/public_html/example.com
This single certificate will secure:
https://example.comhttps://www.example.com
Step 5: Deploy SSL Automatically to cPanel
					~/.acme.sh/acme.sh --deploy \
--deploy-hook cpanel_uapi \
--domain example.com
The certificate is now installed and activated in cPanel.
Step 6: Confirm Auto-Renewal (Lifetime SSL)
crontab -l | grep acme.sh
Optional: Force HTTPS for All Traffic
					RewriteEngine On
RewriteCond %{HTTPS} !=on
RewriteRule ^ https://%{HTTP_HOST}%{REQUEST_URI} [L,R=301]
Final Result
HTTPS active for both www and non-www
Lifetime free SSL via Let’s Encrypt
Automatic renewal enabled
cPanel-compatible installation
Secure and SEO-friendly setup
Conclusion
Using acme.sh is one of the most efficient ways to manage SSL certificates on cPanel.
Once configured, your website remains secure without any manual renewals or paid certificates.
This method is ideal for single websites, multiple domains, and client projects.