Most WordPress sites don’t get hacked because of some clever, targeted attack. They get hacked because of an old plugin nobody updated, an admin password that was reused somewhere else, or a backup that never actually worked. The frustrating part is that almost all of these problems are easy to fix before anything goes wrong.
That’s why we put together this WordPress security checklist. It’s the same list of basics we check when we secure a site after a cleanup, written so that a site owner can work through it without being a developer. You don’t need to finish it in one afternoon. Go through it section by section, tick off what’s done, and come back to it every few months.
What Is a WordPress Security Checklist?
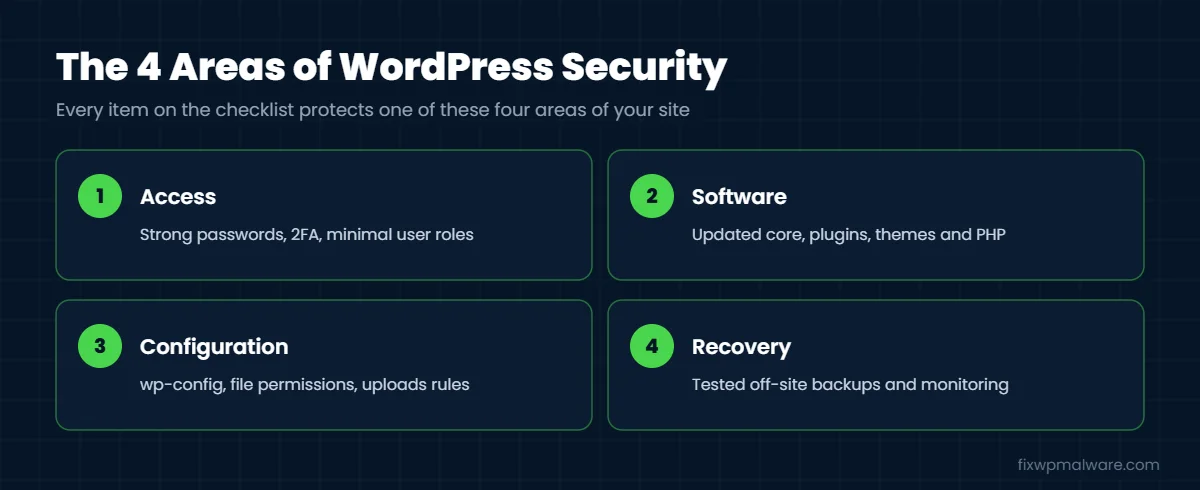
A WordPress security checklist is a simple list of settings, habits and checks that close the most common ways attackers get into a WordPress site. It covers four areas:
- Access: who can log in, and how well those logins are protected
- Software: WordPress core, plugins, themes and the PHP version on your server
- Configuration: settings in
wp-config.php, file permissions and your hosting account - Recovery: backups, monitoring and knowing what to do if something goes wrong
No checklist makes a site impossible to hack. The goal is to make your site a hard target, so automated attacks move on to easier ones, and to make sure you can recover quickly if something does slip through.
Signs Your Site Needs a Security Review
Every site benefits from a review, but it’s urgent if any of these sound familiar:
- You have plugins or themes that haven’t been updated in months
- Several people share one administrator login
- You’ve never tested restoring a backup
- Old staging copies, test installs or unused themes are still on the server
- Your host still runs an old PHP version
- You’ve seen strange admin users, spam pages or redirects before
If you’re already seeing redirects, spam or warnings, the site may be infected right now. In that case, start with our list of signs your website has been hacked and clean the site first. Hardening an infected site won’t remove the malware that’s already there.
Why a WordPress Security Checklist Matters
WordPress itself is actively maintained and security fixes are released quickly. Most real-world hacks come from what surrounds the core software: vulnerable plugins, weak or stolen passwords, nulled themes, and hosting accounts where one infected site spreads to the others.
Attackers rarely pick sites by hand. Bots scan the web for known vulnerable plugin versions and try common passwords on login pages all day. A checklist helps because it removes the easy openings those bots look for. It also gives you a repeatable routine, so security doesn’t depend on remembering everything.
The WordPress Security Checklist: Step by Step
Work through these steps in order. The first ones protect you the most for the least effort.
Step 1: Take a working backup first
Before you change anything, make a full backup of your files and database. Store copies off the server, for example in cloud storage, and keep several versions, not just the latest one. Then test a restore on a staging site. A backup you’ve never restored is only a hope. WordPress.org explains the basics in its guide to hardening WordPress, which also covers backups and monitoring.
Step 2: Update WordPress, plugins and themes
- Update WordPress core to the latest version
- Update every plugin and theme, including inactive ones
- Turn on automatic updates for plugins you trust and that rarely cause conflicts
- Replace any plugin that has been abandoned or removed from the WordPress.org directory
Inactive plugins still sit on the server and can still be attacked if they contain vulnerable code. If you don’t use it, delete it.
Step 3: Remove what you don’t need
- Delete unused plugins and themes (keep one default theme as a fallback)
- Remove old staging copies, test folders and backup ZIP files from the web root
- Remove nulled or pirated plugins and themes and replace them with licensed copies
Nulled software is one of the most common sources of hidden backdoors. Our guide on how to find and remove a WordPress backdoor shows what they look like.
Step 4: Lock down logins and users
- Use a unique, long password for every account, stored in a password manager
- Turn on two-factor authentication for every administrator (WordPress.org lists options in its page on two-step authentication)
- Give each person their own account, never a shared admin login
- Give users the lowest role they need: Editor or Author instead of Administrator where possible
- Delete old accounts for past developers, agencies and staff
- Limit login attempts with your security plugin or firewall
While you’re in the Users screen, look for administrators you don’t recognize. An unknown admin account is a serious warning sign.
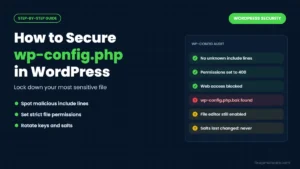
Step 5: Harden wp-config.php
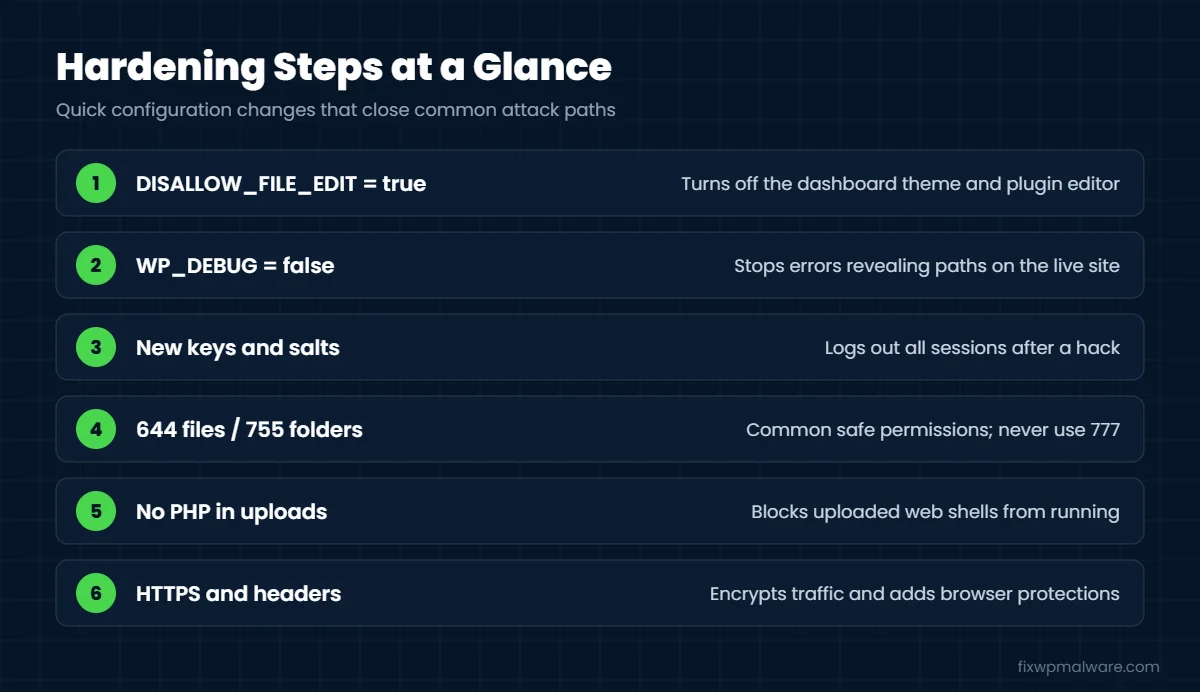
- Disable the built-in theme and plugin editor with
define( 'DISALLOW_FILE_EDIT', true ); - Make sure
WP_DEBUGisfalseon the live site, so errors don’t reveal file paths - Generate fresh security keys and salts using the official WordPress.org secret key generator, especially after a hack or staff change
- Use a strong, unique database password
Step 6: Check file permissions
A common safe setup is 644 for files and 755 for folders, with stricter permissions on wp-config.php (such as 640 or 600, depending on your host). Never use 777. If you’re unsure, ask your host what they recommend for their server setup.
Step 7: Block PHP in the uploads folder
The wp-content/uploads folder should hold images and documents, not code. On Apache servers, an .htaccess file in that folder can deny access to .php files. On Nginx, your host can add an equivalent rule. This stops many uploaded web shells from running even if they get onto the server.
Step 8: Use HTTPS and security headers
Make sure the whole site loads over HTTPS with a valid SSL certificate, and that HTTP redirects to HTTPS. Then add basic security headers. Our guide on how to fix missing security headers in WordPress walks through each one.
Step 9: Add a firewall and monitoring
- Use a web application firewall, either a security plugin or a DNS-level service
- Turn on file change monitoring, so you’re alerted when core files change or new PHP files appear
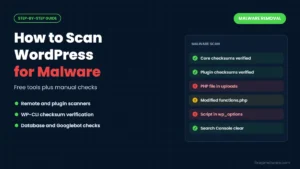
- Run a malware scan on a schedule, not only when something looks wrong
- Add your site to Google Search Console so you’re notified about security issues
Step 10: Secure your hosting account
- Use SFTP instead of plain FTP, and remove FTP accounts you don’t need
- Turn on two-factor authentication for your hosting and domain registrar accounts
- Check that your host runs a supported PHP version
- Review server cron jobs and SSH keys for anything you didn’t add
- Avoid hosting many unrelated sites in one account, because one infected site can reach the others
Keep Your Site Secure: Monthly and Quarterly Checks
Security isn’t a one-time job. Put these on your calendar:
Weekly: apply updates and glance at your security plugin’s alerts.
Monthly: review users, check that backups are running and stored off-site, run a full malware scan, and check Google Search Console for security messages.
Every three months: remove unused plugins, test a backup restore, review hosting accounts and access, and run through this whole WordPress security checklist again.
For more detail on each habit, read our guide on how to prevent WordPress hacks. And if a site has been hacked more than once, see why a WordPress site keeps getting hacked, because hardening only works on a site that’s fully clean.
Frequently Asked Questions
Do I need a security plugin if I follow this checklist?
A security plugin isn’t required, but it makes several steps easier, such as login limits, two-factor authentication, file change alerts and scheduled scans. Pick one well-maintained plugin rather than installing several that overlap.
How often should I go through a WordPress security checklist?
Do the full list once now, then a shorter review every month and the full list again every three months. Also repeat it after any hack, after a developer or agency leaves, and after a major site change.
Is changing the login URL enough to stop attacks?
No. Hiding the login page can reduce bot noise, but it doesn’t fix weak passwords or vulnerable plugins. Treat it as a small extra, not a replacement for strong passwords and two-factor authentication.
Will this checklist remove malware that’s already on my site?
No. These steps help prevent future attacks. If your site is already infected, follow our WordPress malware removal guide first, then harden the clean site.
Are automatic updates safe to turn on?
For most well-maintained plugins, yes. Automatic updates close security holes faster than manual ones. For large plugins like page builders or WooCommerce extensions, you may prefer to update manually after taking a backup.
Want an Expert to Secure Your Site?
If you’d rather not work through every step yourself, or you suspect the site is already compromised, we can help. We check for hidden malware and backdoors, clean anything we find and harden the site using the steps above. Choose our hacked website repair service for a full cleanup and security setup, or emergency malware removal if your site is under attack right now.